The Opera client was previously referred to as the "Opera client powered by Sonic technology", or simply, the "Sonic client".
However, given that the name "Sonic" has now been reserved for our new, upcoming network, any mention of "Sonic" on these pages, GitHub, or pieces of code, refers to the current Opera client.
Minimum Stake: 50,000 FTM.
Maximum Validator Size: 15x the self-stake amount.
Rewards: Currently ~6% APR (normal APR for self-stake + 15% of delegators' rewards). APR varies based on the amount of FTM staked on the entire network. For up-to-date APR, check .
You can run your validator node on dedicated hardware (also called bare metal) or use a cloud provider. We recommend choosing one of the established cloud providers, e.g. Google GCP or Amazon AWS.
To run the node software, you need at least 4 vCPUs and 32 GB of RAM. We recommend getting at least 1 Gbps of redundant backbone connectivity to allow a stable and uninterrupted network traffic flow.
You will also need at least 1 TB of local SSD/NVMe storage. Remotely connected storage systems, e.g., Amazon EBS, usually don't provide the latency and random access performance the node requires. The Google GCP N2D instances with local SSD drives or Amazon AWS i3en.xlarge with the instance storage match the minimal requirements.
We recommend going with Ubuntu LTS Server (64-bit) or a similar Linux distribution.
1 TB of local SSD/NVMe storage is sufficient for a pruned DB either on a validator or on a no-history pruned dataset.
6 TB of local SSD/NVMe is needed if you'd like to run a full-size (non-pruned) datadir.
.
An Opera node requires both TCP and UDP network traffic to be allowed on port 5050 by default. A custom port can be used with --port <port> flag when running your node.
You need the essential building tools and version 1.21 or newer to build the Opera client and bundled tools.
First, install the required build tools:
Install the latest Go compiler from binary distribution:
Set up Go language export paths:
Building the Opera binary requires the essential software development tools and the language version 1.21 or newer to be available. The previous section contains basic steps to deploy the required applications on the recommended Linux distribution. Please refer to your operating system manuals to install the development tools needed for this step.
Please check the of the Opera node and adjust your commands accordingly.
You can confirm the Opera release by executing the version subcommand on the created binary.
Optionally, you may want to copy the Opera node app and the tooling into the system-wide bin folder to make it available without explicitly specifying the binary path.
You need a valid state database to be able to participate in the network. The fastest and easiest way is to use a genesis file. Please check the , where new signed genesis files are published, and pick the latest one suitable for a validator node. You will need approximately 50 GB of storage space for the genesis file download.
Download the latest genesis file and the corresponding checksum:
Check your download using the MD5 checksum file:
Use the Opera tooling to prime the state database using the downloaded genesis file. Refer to to determine the amount of cache and memory consumption soft limit for your node.
The --datadir flag should point to your local NVMe storage mount path. The --mode validator flag tells the tool to create a minimal required state database for your node.
The Opera tool creates a primed state database from the genesis file. The last step is a validation procedure. It confirms that the expected state was built successfully reaching the expected root hash. You can refer to the to verify that the state hash is indeed correct.
The Opera node utilizes a large amount of RAM to achieve great speed and responsiveness. It should be the only user-space application consuming your system resources.
Approximately 40% of the available RAM should be used as the --cache for both the sonictool and sonicd applications. The final value is denominated in MiB. For example: 64,000 MiB RAM * 40% = 25,600 MiB. You should never set the value below 10,000 MiB.
Approximately 90% of the available RAM should be used as the application memory consumption limit. This limit is controlled by the GOMEMLIMIT environment variable. The final value includes abbreviated units. We recommend using GiB for simplicity. For example: 64 GiB RAM * 90% ≈ 58 GiB.
Your node database has been primed to a certain epoch in the past using a genesis file and the Opera tool. Now you need to get the node up to the current state.
To do it, your node needs to be started in the read-only mode and establish a connection with the network. Please make sure your to allow such communication. The amount of memory dedicated to the node cache and the memory consumption limit are .
The Opera node should start and connect with the network, advancing the state by creating and processing new blocks. Please notice the age part of the log message, which tells you how far in the past these blocks are. The age should not exceed a couple of seconds once the node is fully synchronized.
Your Opera node is up and running in the read-only mode, synchronizing with the network. Now you need to create a wallet that will identify and control your validator account.
The Opera tool does contain a utility function to create such a wallet, but we strongly recommend doing it off the server and in a secure way. The best approach is to use one of the hardware wallets available on the market or a trustworthy software wallet capable of sending transactions to the Opera network.
Make sure to keep the validator wallet private and secure. Never share this wallet or the corresponding key with anyone. The safety of your validator funds depends on it.
Once your validator wallet is created, you need to put the initial amount of funds in it. The registration process involves placing these funds as a stake in your account. If you don't have native FTM available on your Opera wallet already, you may need to purchase them using a crypto exchange.
An Opera validator node signs special types of messages broadcasted to the Opera network. A sequence of these messages from the confirmed active validators is what allows the network to process transactions safely and securely. Your node needs a signing key to be able to participate. Use the Opera tool to create this key on the server.
Please back up your consensus signing key safely. You may need to deploy it on a new server in case of a hardware or software failure.
The key cannot be used to access your funds, but it can be utilized to invoke a double-sign error, which is penalized. Please handle your validator key with proper care.
Create the validator signing key on the node server:
Follow the prompts and supply a secure password:
Notice the public key part of the application output message starting with 0xc00472c4966b0213…. This is the public key used in the registration process in the next step to let the network know what key is going to be used by your node as its distinct signature.
Note that the picture above demonstrates the output of the validator key creation. Your real public key and the path to the key file will be different.
The network needs to be aware of your validator key to accept it. The registration process is done by invoking a smart contract called SFC. This contract is responsible for the management of stakes and related rewards.
You can find the SFC contract here:
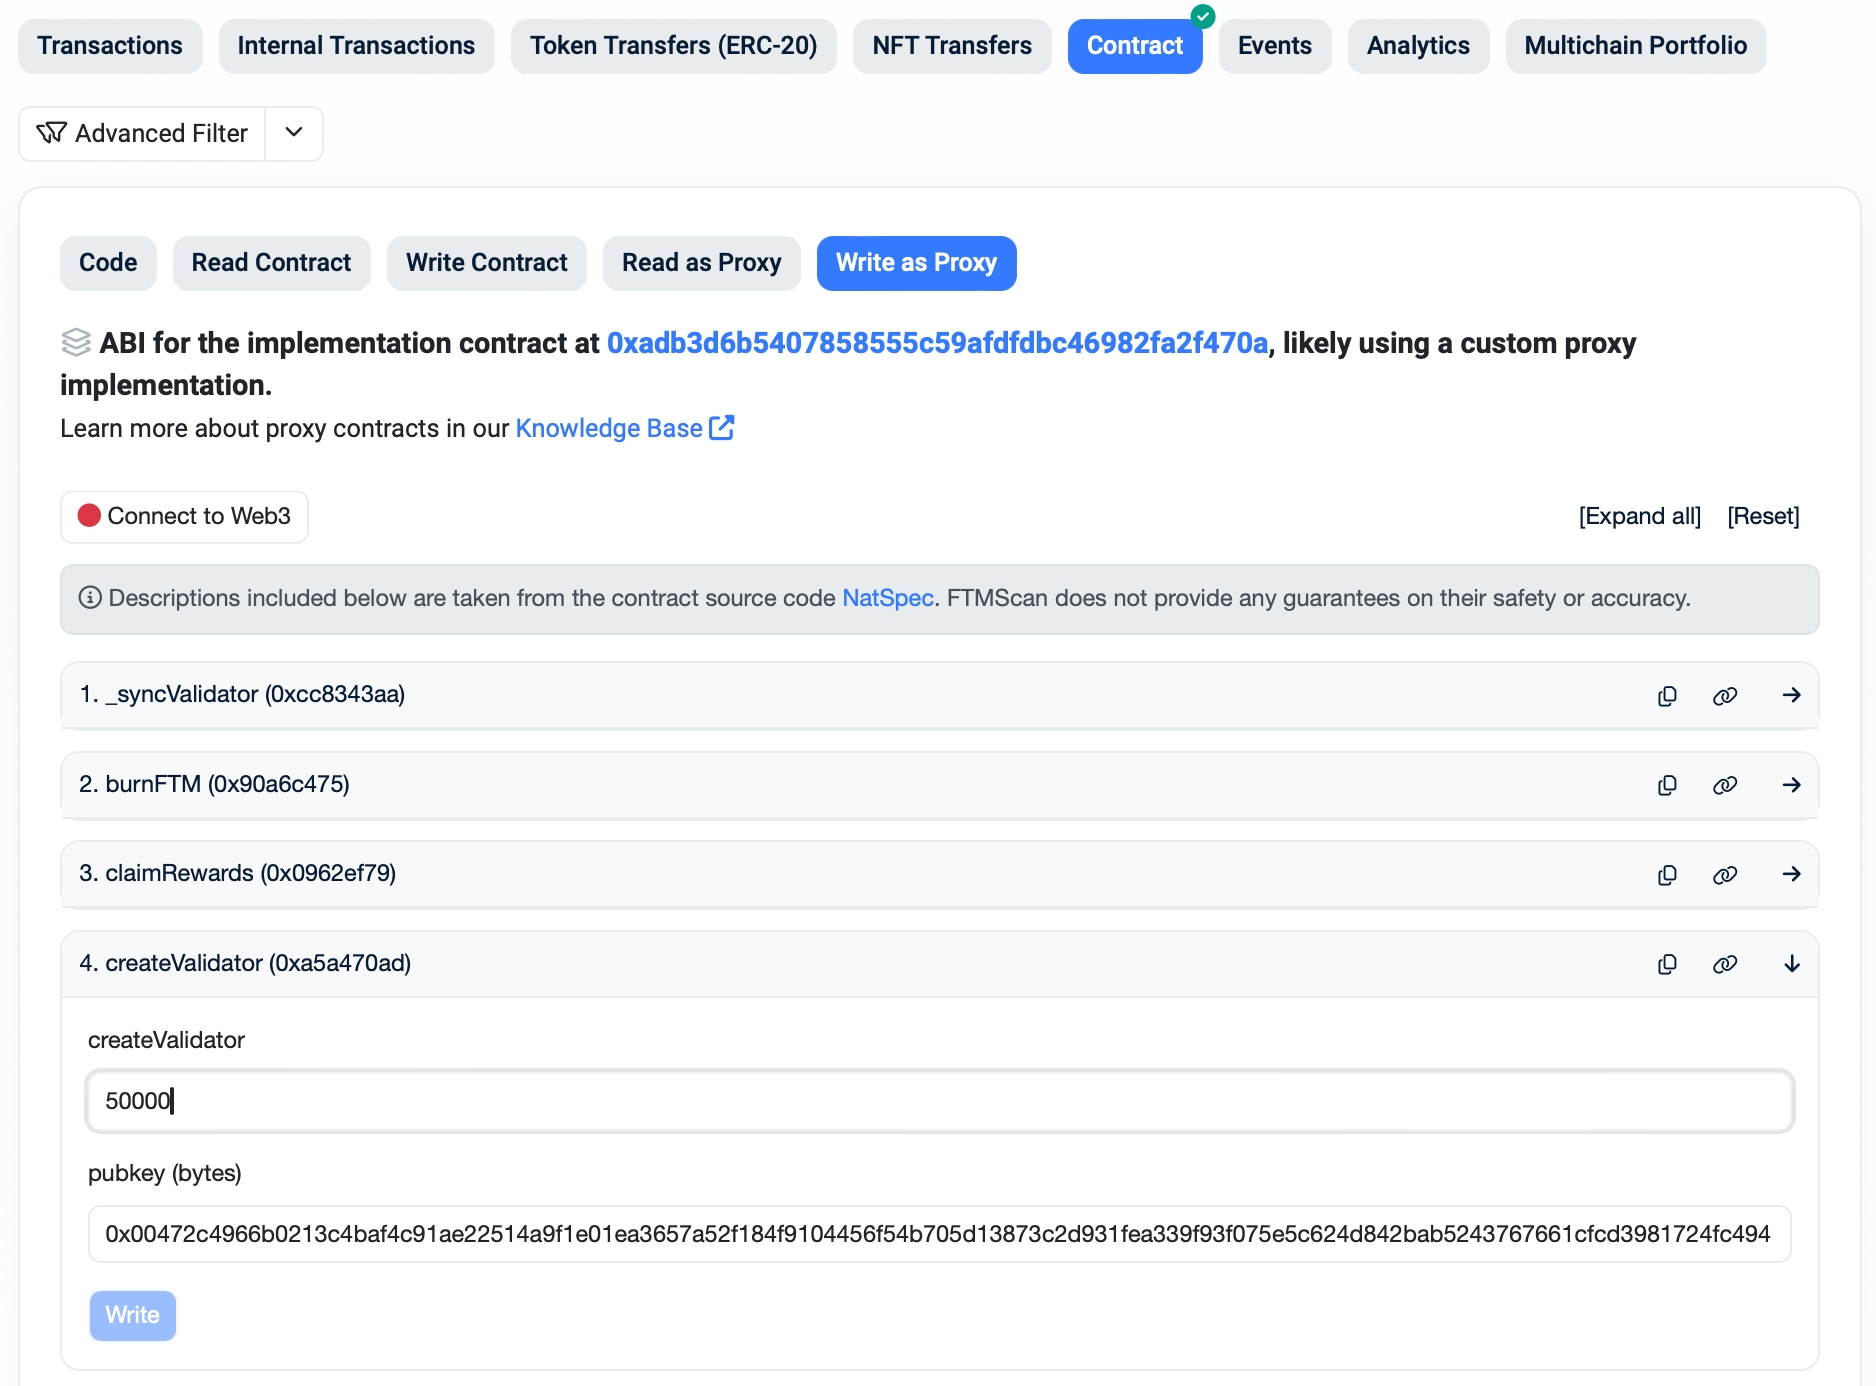
You can use the Explorer to invoke the appropriate registration function called createValidator. You will need to include at least the minimal stake to be able to finish the registration. The "pubkey" field is going to contain the public key created in the previous step. Use the validator wallet key to sign the registration transaction.
If you want to interact with the SFC contract directly, please use the for the interface definition.
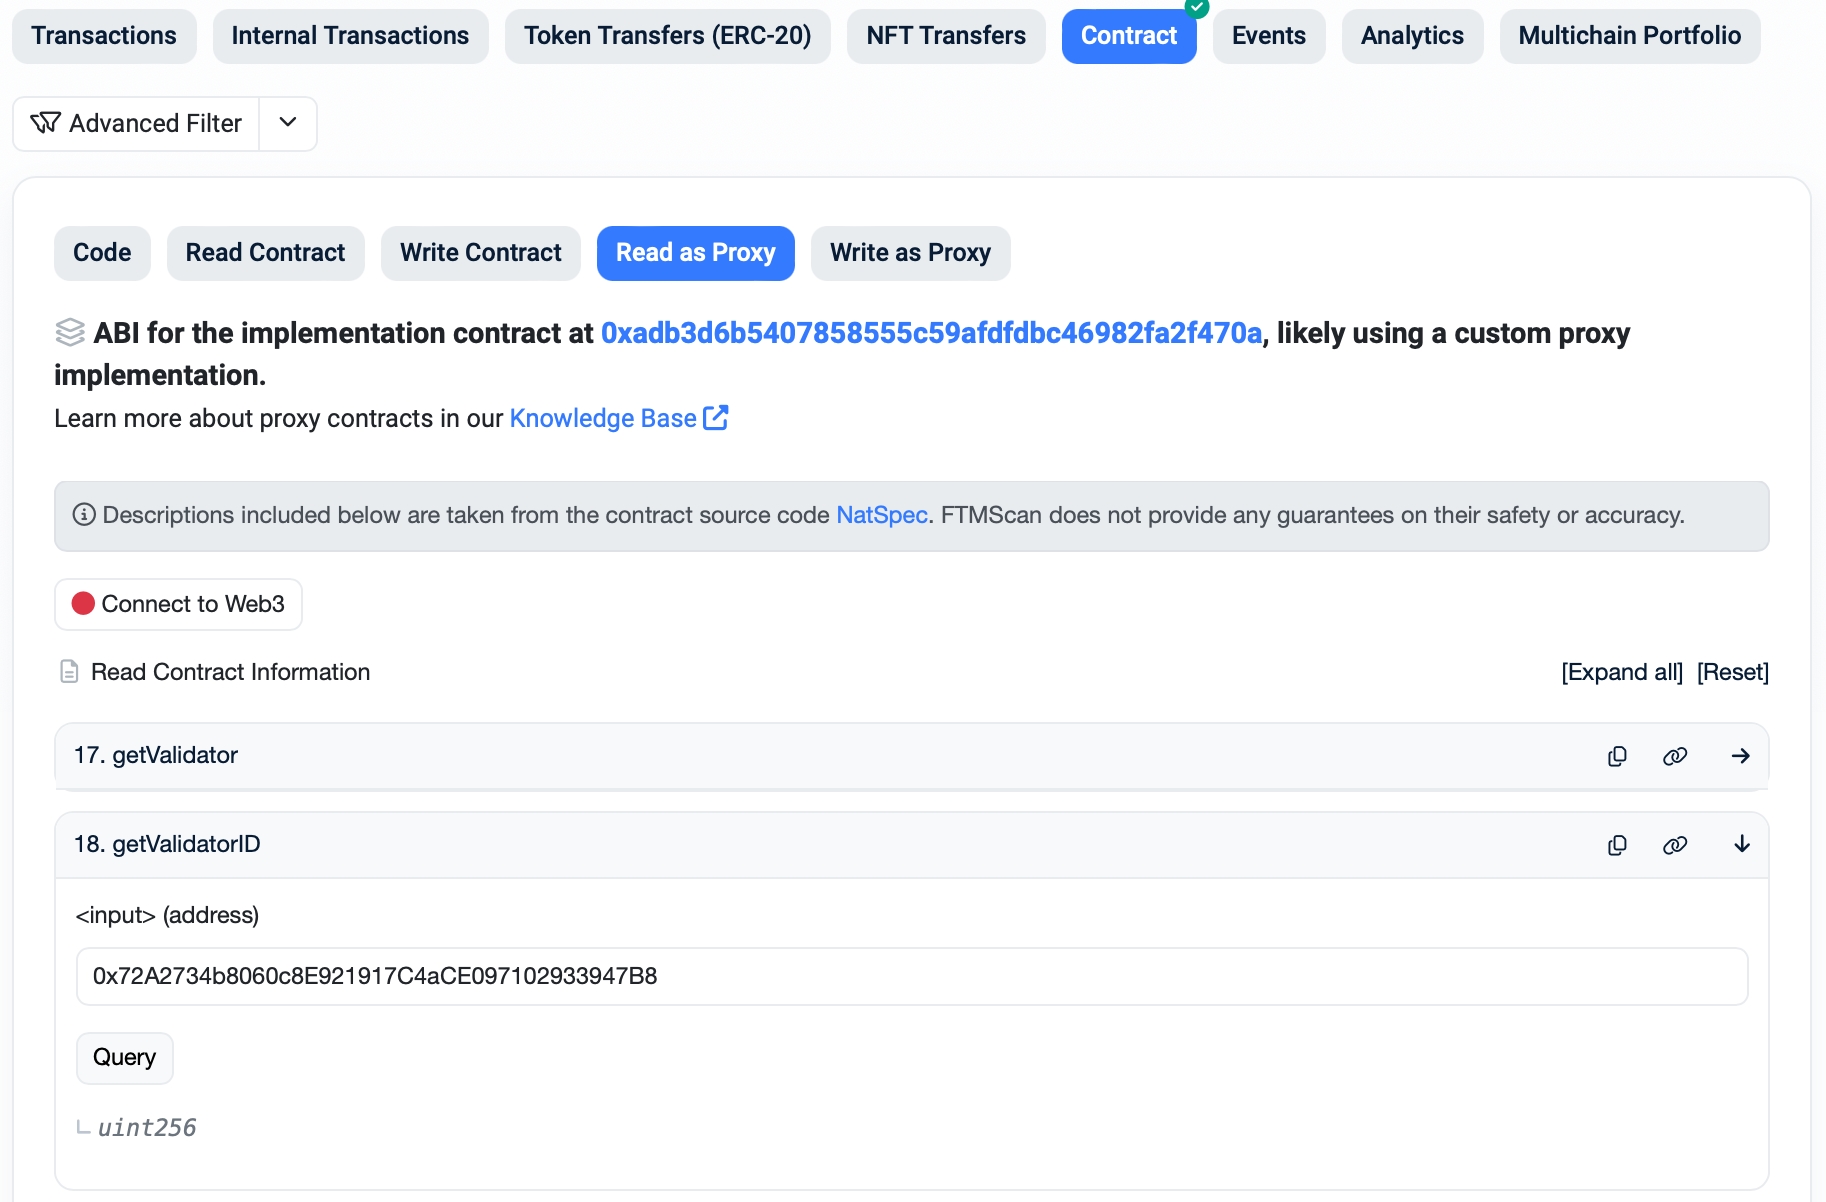
Once your registration is confirmed, you can use the Explorer to get the ID assigned to your validator. The SFC allows you to query this ID for your specific using getValidatorID function.
You are almost done. Now you need to restart your running node with the unlocked. Please make sure your node is already with the network before proceeding.
Stop the Opera application and wait until the node gracefully terminates:
The Opera node may run for several minutes until it stops. Please make sure to never terminate it forcefully. If the Opera node cannot properly close its persistent database, you will have to restore the database from a backup or a genesis file again.
Start the Opera node again, adding your and the . If you start your node in a non-interactive environment, e.g. as a dystemd service, you may need to add a path to the password file so the validator key can be unlocked. Alternatively, you can use a detached terminal (i.e. tmux) to run the node. In that case, the node will ask for the password when started.
Congratulations! Your validator node is up and running. Now you may be wondering what to do next. You can find some useful hints below.
If you'd like to set up a name and logo for your node, please check the for additional information and guides.
The important part of running a validator on Opera is the community.
We would like our validators to get involved in the network's future. allows you to use your stake to vote for important changes in the network configuration and development. You can also check our for additional information about upcoming events, upgrades, and planned governance votes. If you have any problems with the node, our awesome participants are ready to provide additional information and help.
Each validator is expected to actively maintain their node and participate in securing the network traffic, but we realize accidents happen. If your node drops offline, the will show its address as being in maintenance mode. You can also check a with a list of nodes that did not emit new consensus events recently.
If your node is not running properly for a short time, nothing happens. You will not receive any rewards during the downtime, but this is the only consequence. If your node is offline for more than 5 days, or if it's constantly dropping off the network, the guarding algorithm will suspend your validator wallet and the signing key in the SFC contract. In that case, you will not be able to join again and the only option would be to withdraw your stake and start over.
sudo apt-get install -y build-essential gitsudo rm -rf /usr/local/go
wget https://go.dev/dl/go1.22.8.linux-amd64.tar.gz
sudo tar -xzf go1.22.8.linux-amd64.tar.gz -C /usr/local/
rm -f go1.22.8.linux-amd64.tar.gzsudo tee /etc/profile.d/golang.sh > /dev/null <<EOT
export GOROOT=/usr/local/go
export GOPATH=\$HOME/go
export PATH=\$PATH:\$GOROOT/bin:\$GOPATH/bin
EOT
source /etc/profile.d/golang.shgit clone https://github.com/Fantom-foundation/Sonic.git
cd Sonic
git fetch --tags && git checkout -b v1.2.1-g tags/v1.2.1-g
make allbuild/sonicd versionsudo mv build/sonic* /usr/local/bin/wget https://files.fantom.network/opera/mainnet/mainnet-311670-validator.g
wget https://files.fantom.network/opera/mainnet/mainnet-311670-validator.g.md5$ md5sum --check mainnet-311670-validator.g.md5
mainnet-311670-validator.g: OKGOMEMLIMIT=58GiB sonictool --datadir ~/.sonic --cache 25600 \
genesis --mode validator mainnet-311670-validator.gStateDB imported successfully, stateRoot matches module=gossip-store
index=95005860 root="cd16ca…cf69c2"$ grep MemTotal /proc/meminfo
MemTotal: 65641928 kBGOMEMLIMIT=58GiB sonicd --datadir ~/.sonic --cache 25600 --mode validatorsonictool --datadir ~/.sonic account newsonictool --datadir ~/.sonic validator newpkill sonicdGOMEMLIMIT=58GiB sonicd \
--datadir ~/.sonic \
--cache 25600 \
--mode validator \
--validator.id <your validator ID> \
--validator.pubkey <your public key, i.e. 0xc00472c4966b0213…> \
--validator.password <path to a file with the public key password>The Opera client was previously referred to as the "Opera client powered by Sonic technology", or simply, the "Sonic client".
However, given that the name "Sonic" has now been reserved for our new, upcoming network, any mention of "Sonic" on these pages, GitHub, or pieces of code, refers to the current Opera client.
Before you start your Opera API node, you need to decide which type you want to deploy based on your use case. There are two possible modes of operation:
Pruned API Node Smaller database footprint utilizing around 700 GB of storage initially. It can respond to state-related RPC/socket requests, allows you to interact with the network state, trace smart contract execution, and submit signed transactions to the network. The state history is limited to the block from which the state DB is created, usually using a validator-type genesis file. If you try to query an older state, an error will be given.
Archive API Node Larger database size using approximately 5.5 TB of storage initially. It can respond to all state-related RPC/socket requests for the whole blockchain history, allows you to interact with the network state at any block, trace smart contract execution, and submit signed transactions to the network. It's usually created from an archive genesis file.
A dedicated hardware (also called bare metal) will provide the best possible performance and speed. If you want to integrate your node into a broader infrastructure of your project, you may want to consider a cloud service provider too. We recommend choosing one of the big cloud providers, e.g. Google GCP or Amazon AWS.
A minimal configuration for the Opera API node is a computation node with at least 4 vCPUs and 32 GB of RAM. You will also need either at least 1.2 TB or 7 TB of local NVMe storage space for the Opera database.
The proper size depends on your selected API node type. Remotely connected storage systems, e.g. Amazon EBS, usually don't provide the required latency and random access performance required to run an API node. The Google GCP N2D instances with local SSD drives, or Amazon AWS i3en.xlarge with the instance storage, match the minimal requirements.
The number of vCPUs and RAM available to the Opera node dictates the final performance and responsiveness of the API interface. Please scale the size of your server specification for the expected amount of RPC requests. We recommend instances with 8 vCPUs and 64 GB of RAM for smaller projects with less traffic, or 16 vCPUs and 128 GB of RAM for public API endpoints.
More RAM is needed to run "debug" API functionality in an RPC API node. For such a scenario, we recommend 128 GB.
Another option is to deploy several smaller nodes and load balance the incoming traffic between them. The deployment setup details suitable for your specific case may vary. We recommend using Ubuntu LTS Server (64-bit) or a similar Linux distribution.
1.2 TB of local NVMe/SSD storage is sufficient to start a pruned API node using a validator genesis file.
7 TB of local NVMe/SSD storage is needed to provision a full archive API node.
.
The Opera node requires both TCP and UDP network traffic to be allowed on port 5050 by default. A custom port can be used with --port <port> flag when running your node.
The RPC/socket interface of the node can be opened for incoming HTTP traffic on port 80, but Opera does not support SSL/TLS encryption. You will need to add a proxy server between the public HTTP interface and the Opera node to be able to secure your connections with an SSL/TLS certificate.
Your cloud provider may offer a load-balanced application proxy solution, which includes certificate management. If you want to deploy such infrastructure yourself, you may want to check the or community projects.
You need the essential building tools and version 1.21 or newer to build the Opera client and bundled tools.
First, install the required build tools:
Install the latest Go compiler from binary distribution:
Setup Go language export paths:
Building the Opera binary requires the essential software development tools and the language version 1.21 or newer to be available. The previous section contains basic steps to deploy the required applications on the recommended Linux distribution. Please refer to your operating system manuals to install the development tools needed for this step.
Please check the of the Opera node and adjust your commands accordingly.
You can confirm the Opera release by executing the version subcommand on the created binary.
Optionally, you may want to copy the Opera node app and the tooling into the system-wide bin folder to make it available without explicitly specifying the binary path.
You need a valid state database to be able to participate in the network. The fastest and easiest way is to use a genesis file. Please check the , where new signed genesis files are published, and pick the latest one suitable for your . You will need approximately 50 GB of storage for a pruned genesis file and 350 GB of storage space for the full archive genesis download.
Obtain the latest genesis file and the corresponding checksum:
Check your download using the MD5 checksum file:
Use the Opera tooling to prime the state database using the downloaded genesis file. Refer to to determine the amount of cache and memory consumption soft limit for your node. The --datadir flag should point to your local NVMe storage mount path.
The Opera tool creates a primed state database from the genesis file. The last step is a validation procedure. It confirms that the expected state was built successfully reaching the expected root hash. You can refer to the to verify that the state hash is indeed correct.
The Opera node utilizes a large amount of RAM to achieve great speed and responsiveness. It should be the only user-space application consuming your system resources.
Approximately 40% of the available RAM should be used as the --cache for both the sonictool and sonicd applications. The final value is denominated in MiB. For example: 64,000 MiB RAM * 40% = 25,600 MiB.
Approximately 90% of the available RAM should be used as the application memory consumption limit. This limit is controlled by theGOMEMLIMIT environment variable. The final value includes abbreviated units. We recommend using GiB for simplicity. For example: 64 GiB RAM * 90% ≈ 58 GiB.
Your node database has been primed to a certain epoch in the past using a genesis file and the Opera tool. Now you need to get the node up to the current state.
To do it, your node needs to be started in the read-only mode and establish a connection with the network.Please make sure your to allow such communication. The amount of memory dedicated to the node cache and the memory consumption limit are .
The RPC and/or socket interfaces are turned off by default. You need to specify which one you want to start and what range of services you want it to offer. You can find the default configuration in the example below. Please adjust the port, namespace, and domain-related options based on your specific needs.
The HTTP API offers the Web3 interface for the request-response type of interaction with the Opera chain. The WS API supports a sustained network connection with the ability to subscribe to certain network events, e.g. new blocks being created or contracts being interacted with.
The Opera node should start and connect with the network, advancing the state by creating and processing new blocks. Please notice the age part of the log message, which tells you how far in the past these blocks are. The age should not exceed a couple of seconds once the node is fully synchronized.
sudo apt-get install -y build-essential gitsudo rm -rf /usr/local/go
wget https://go.dev/dl/go1.22.4.linux-amd64.tar.gz
sudo tar -xzf go1.22.4.linux-amd64.tar.gz -C /usr/local/
rm -f go1.22.4.linux-amd64.tar.gzsudo tee /etc/profile.d/golang.sh > /dev/null <<EOT
export GOROOT=/usr/local/go
export GOPATH=\$HOME/go
export PATH=\$PATH:\$GOROOT/bin:\$GOPATH/bin
EOT
source /etc/profile.d/golang.shgit clone https://github.com/Fantom-foundation/Sonic.git
cd Sonic
git fetch --tags && git checkout -b v1.2.1-c tags/v1.2.1-c
make allbuild/sonicd versionsudo mv build/sonic* /usr/local/bin/wget https://files.fantom.network/mainnet-285300-archive.g
wget https://files.fantom.network/mainnet-285300-archive.g.md5$ md5sum --check mainnet-285300-archive.g.md5
mainnet-285300-archive.g: OKGOMEMLIMIT=58GiB sonictool \
--datadir ~/.sonic \
--cache 25600 \
genesis mainnet-285300-archive.gStateDB imported successfully, stateRoot matches module=gossip-store
index=81990246 root="f60cd4…38652f"$ grep MemTotal /proc/meminfo
MemTotal: 65641928 kBGOMEMLIMIT=58GiB sonicd \
--datadir ~/.sonic \
--cache 25600 \
--http \
--http.addr=0.0.0.0 \
--http.port=8080 \
--http.corsdomain="*" \
--http.vhosts="*" \
--http.api=eth,web3,net,ftm,txpool,abft,dag \
--ws \
--ws.addr=0.0.0.0 \
--ws.port=8081 \
--ws.origins="*" \
--ws.api=eth,web3,net,ftm,txpool,abft,dag